There are too many perfectly circular pies with perfectly symmetric fluted edges in this Instagram-happy world. Today I want to advocate for all the imperfect pies that will grace Thanksgiving tables this week. Homemade with made-from-scratch, molded by hand crust that required love, time and attention. Perfect in their one-of-a-kind imperfections. My pies aren’t perfect and I like them that way .Apple Cheddar Brown Butter Pie
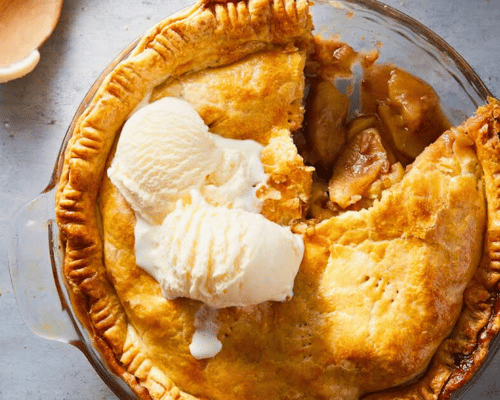
Matt took one bite of this pie and told me it was the best crust I’d ever made. To put that comment in perspective, you must know that pie is not a subject we take lightly around here. We both come from a long line of pie makers and pie lovers – pie is a big deal. My mother taught me the technique she had learned from her grandmother. My father growing up would split a pie with his brother. Yep, that’s right- two boys, one pie, in one sitting. My mother-in-law makes a pretty mean strawberry-rhubarb pie which will always be Matt’s ultimate favorite. Pie is a big deal.
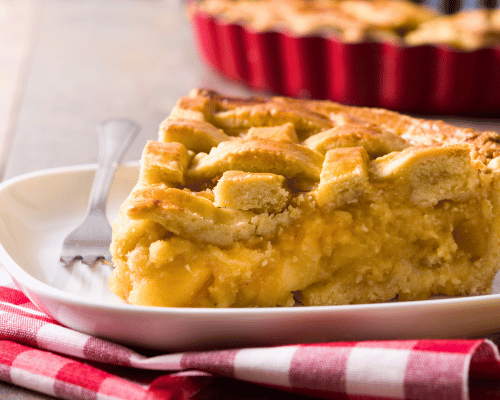
Cheddar cheese and apples just go together. The match is age old with rumors that some states (Wisconsin and Vermont) actually passed laws that a slice of pie must be served with a wedge of cheddar cheese. I can’t substantiate those claims but I know this combination made my tastebuds happy. I took the filling one step further and added a little browned butter to the filling. It just had to be done.
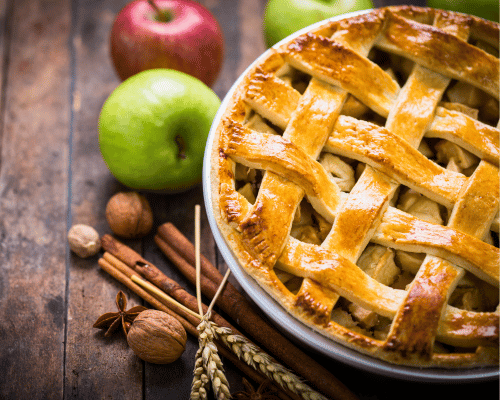
So this is the deal: The best pie is made with homemade crust. The supermarket varieties are generally full of artificial ingredients and lack the buttery, flaky texture of a pie crust in which the butter was cut by hand. So in our house we only make homemade crust. It’s not that I always have time but when time is tight we resort to other desserts such as crisps, bars or cookies.
Both my mother and mother-in-law make pie with a shortening crust. I do admit that this produces the flakiest crust but there is simply no substitute for the flavor of butter and I’m just not comfortable with putting something that processed into my food even if it is trans-fat free. I’ve made pie crusts with both shortening and butter and I’ve found that if you understand the science you can produce a flaky, buttery crust. Pie making is really all about technique and science (warning: I’m about to get a bit dorky).
First, we cut the cold butter into the flour until the flour coated butter bits are approximately the size of pea (some will be cornflake size, some slightly larger). Then we add just enough cold liquid to keep the dough together. As the dough is rolled those bits of butter get stretched into layers. If we looked at a cross section of the rolled dough under a microscope we’d see super thin layers of butter that aren’t fully incorporated into the dough. The water, which is holding together the dough, will evaporate once it hits the hot oven creating mini void spaces between the pockets of butter. This is the secret to flaky pie crust! So what does this mean about technique:
- We don’t want water leftover in our dough. We want as much to evaporate as possible so we use as little water as possible to hold together our dough.
- There is another reason we don’t want any more liquid in our dough then is absolutely neccessary. Gluten while good for pizza or bread is the enemy of pie. Gluten is formed anytime water and flour mix. So again, minimize the water.
- Fats with low percentages of water are best. Shortening and lard are 100% fat while butter has a small percentage of water. European butters have lower percentages of water so I use those. This is why a butter crust can never be as flaky as a shortening or lard crust. It can come pretty darn close and that is a compromise I make for buttery flavor.
- Butter is soft at 68 degrees and begins to melt above that temperature. If the butter is soft it will fully incorporate with the flour. Our kitchens are generally warmer than 68 degrees, especially with a preheated oven, and our hands are definitely too warm. For these reasons we use chilled ingredients, minimize touching the dough, and work quickly when any of our ingredients are out on the counter. This characteristic of butter makes pie crust tricky BUT it has a serious advantage when it comes to the eating. When a bite hits our tongue, the butter will melt filling our mouths will glorious buttery flavor. Shortening on the other hand will not melt and will taste like absolutely nothing.
Joy the Baker just posted some pie making tips and I suggest reviewing those as well. If you’ve never made pie before, Thanksgiving is this week, and you should give it a try! You’ll get better each and every time just remember keep your ingredients cold and minimize mixing and water.
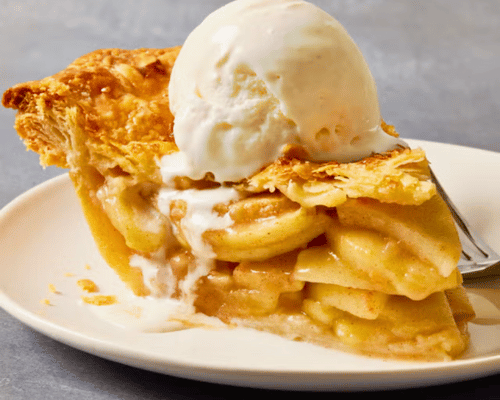
I’ve done a lot of talking for this recipe but just a couple more notes. If you’re wandering why you can’t see the cheese in the crust, I used a white cheddar. I like to use buttermilk or milk and apple cider instead of straight water because all recipes need acid and fat is flavor so that means milk > water.
Apple Cheddar Brown Butter Pie
- Servings: 8 people
- Time: 2 hours
Heavily Adapted from Homemade Decadence by Joy the Bake
Ingredients:
- 2.5 cups (310 grams) all purpose flour
- 1 tablespoon sugar
- 1.5 teaspoons salt
- 2 sticks (225 grams) cold unsalted butter, cut into cubes
- 1 cup (80 grams) shredded sharp Cheddar cheese
- 1/2 cup + 1 tablespoon cold buttermilk (or substitute any milk + 1 teaspoon apple cider)
- 2.5-3 pounds mixed baking apples (a combination of sweet and tart works best)
- 1 tablespoon fresh lemon juice
- 1/4 cup light brown sugar
- 1/4 cup granulated sugar
- 1/2 teaspoon ground cinnamon
- 1/4 teaspoon grated nutmeg
- 1/4 teaspoon salt
- 4 tablespoons unsalted butter
- 3 tablespoons tapioca starch (or 1.5 tablespoons cornstarch)
- 2 tablespoons granulated sugar
additional cheddar cheese to sprinkle on top (optional)
Special Equipment Needed: A rolling pin and 9″ pie plate.
Method:
In a medium bowl stir together the flour, sugar and salt. Using a fork or a pastry cutter, work the butter into the flour mixture until the butter is approximately the size of a pea. Stir in the shredded cheese. Have your cold milk on hand (I place an ice cube in the milk to ensure it is at it’s coldest). Using a tablespoon sprinkle approximately half of the liquid over the flour. Toss gently, stirring up the dry bits of flour from the bottom of the bowl and sprinkle the remaining liquid over the top. Stir again briefly and then dump the mixture onto a well floured surface. Gather the dough together into a mass divide in half and then gently knead each half into a solid disk. It doesn’t need to look perfect and there can be a few cracks or breaks in the mass. Wrap each disk in plastic wrap and place in the fridge for at least one hour. Alternatively the dough can be made in advance and frozen at this point.
Preheat oven to 400 deg F and place a foil-lined baking sheet on the center rack of the oven. Meanwhile, prepare your filling. Peel and slice the apples thinly. Toss the apples with the lemon, sugar, spices and salt. Let sit for at least 30 minutes in colander over a bowl.
On a well floured surface roll out one disk of the dough. I do this right on my marble kitchen counters because they are cold. Rotate the dough a quarter turn after a couple rolls to ensure it isn’t sticking to the counter. Flip halfway through rolling and continue until the dough is large enough to fit your 9″ pie pan with some extra hanging over the edges. If the dough splits or cracks don’t panic – take pieces from the edges, patch the dough, and continue rolling. Place dough in your pie pan, trim so the overhang is only 1/2″, and add apples from colander.
In a small saucepan melt the butter over medium heat until browned. Pour over the apples. Take the juices that collected from the apples and cook in the same saucepan until the consistency of caramel. Pour over the apples. Don’t worry if it hardens immediately upon contacting the applies it will soften and redistribute in the oven.
Roll out the other half of the dough following the directions above. Tuck the overhanging crust under the bottom crust and crimp the two crusts together using a fork or your fingers. Cut vents in the top crust in your own imperfect, personalized way. Sprinkle sugar and cheese, if using, on top. Place the pie in the oven on the baking sheet and bake for 20 minutes. Reduce the oven temperature to 350 deg F and bake until the juices are bubbling, the apples can be easily stabbed with a knife, and the pie is golden brown. If the pie appears to be browning too quickly make a loose foil tent and cover it while it bakes. I use a pie crust shield but aluminum foil works just as well.
Transfer the pie to a rack and let cool for at least 4 hours before cutting. Serve at room temperature.

Hey There, I’m Monica, Mom of two. This is my personal blog site. Here I write about Kitchen Tips Tricks, Recipes, and Review the products I use.
I hope you enjoy the article. Give me feedback on how I’m doing with my blog. I would appreciate it so much.
Have a great day! 🙂
[Follow me on Twitter]

